
Embarking on your first art installation project can feel daunting, but with the right preparation and guidance, it can be a rewarding experience. With our guide from Custom Blinds & Great Designs,we will walk you through the essential steps to ensure your art is displayed beautifully and securely.
Planning Your Art Installation
Before you even think about hammers and nails, careful planning is crucial. Start by considering the following:
Assess the Artwork: Note the size, weight, and medium of each piece. This will determine the appropriate hanging hardware and placement.
Evaluate the Space: Consider the wall type (drywall, plaster, brick), lighting, and viewing angles. Natural light can enhance artwork, but direct sunlight can also cause damage over time. Think about how the art will interact with the existing décor and the overall flow of the room. As Custom Blinds & Great Designs, transforming views, one window at a time, we want to help you make the most of every space.
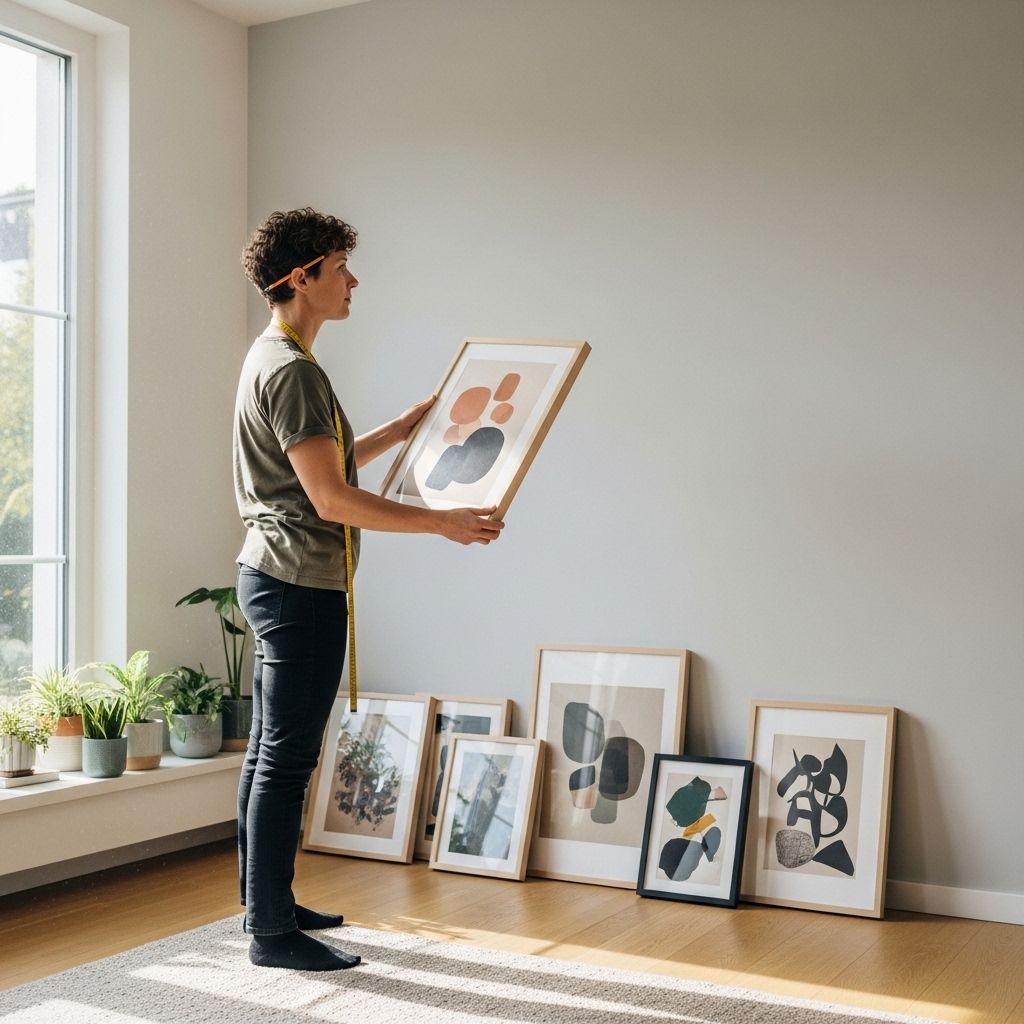
Create a Layout: Experiment with different arrangements on the floor before committing to anything on the wall. Use painter's tape to mark potential locations and visualize the final display. Take your time and ensure you're happy with the arrangement before proceeding.
Gathering Your Tools and Materials
Having the right tools on hand will make the installation process much smoother. Here's a basic checklist:
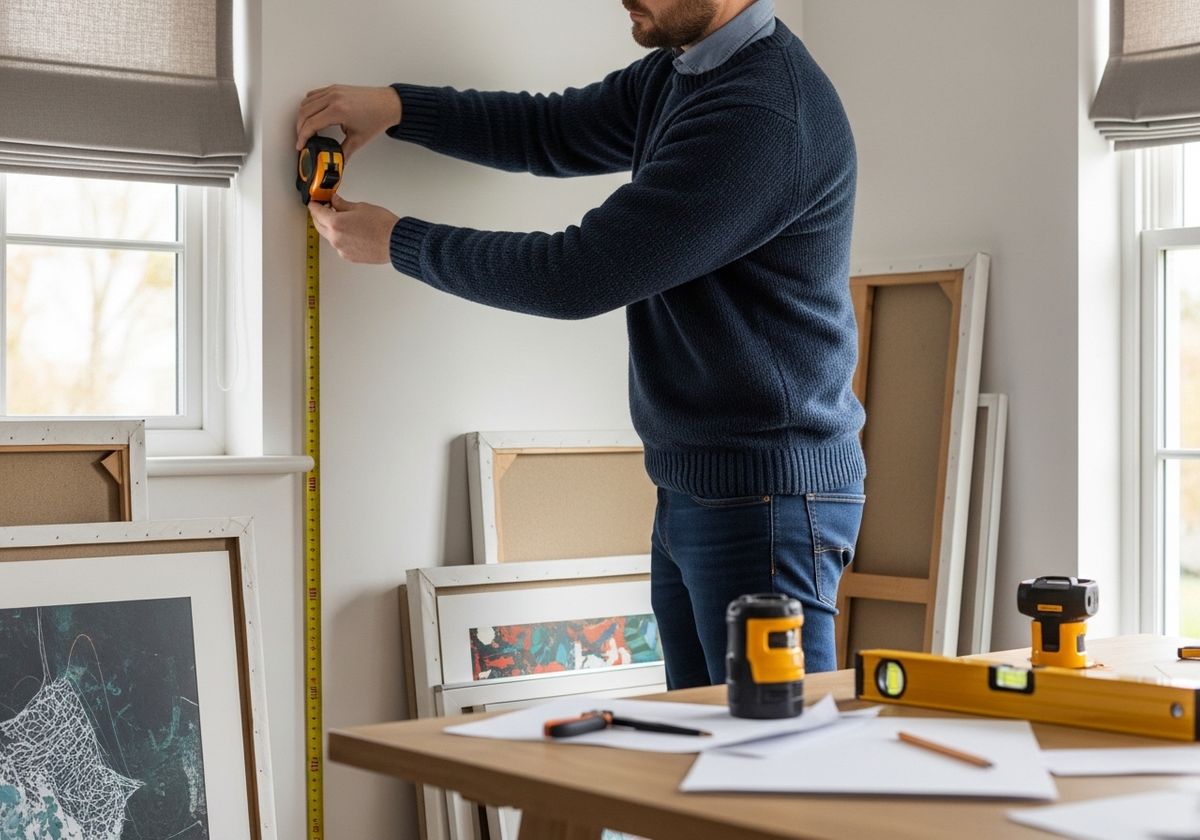
Measuring Tools: Tape measure, level, stud finder
Hanging Hardware: Picture hooks, nails, screws, anchors (select based on the weight of the artwork and wall type)
Drilling Tools: Drill with various bits (for pilot holes and anchors)
Safety Gear: Safety glasses, gloves
Pencils and Erasers: For marking locations and making adjustments
Step-by-Step Installation Process
Locate Wall Studs: Use a stud finder to identify the studs in your wall. Hanging heavier pieces directly on studs provides the most secure support.
Mark the Placement: Using your pre-determined layout, mark the exact location for each piece of art on the wall with a pencil. Double-check your measurements to ensure accuracy.
Install Hardware: Install the appropriate hanging hardware according to the weight of the artwork and the wall type. If you're not using a stud, use anchors to provide additional support in drywall or plaster.
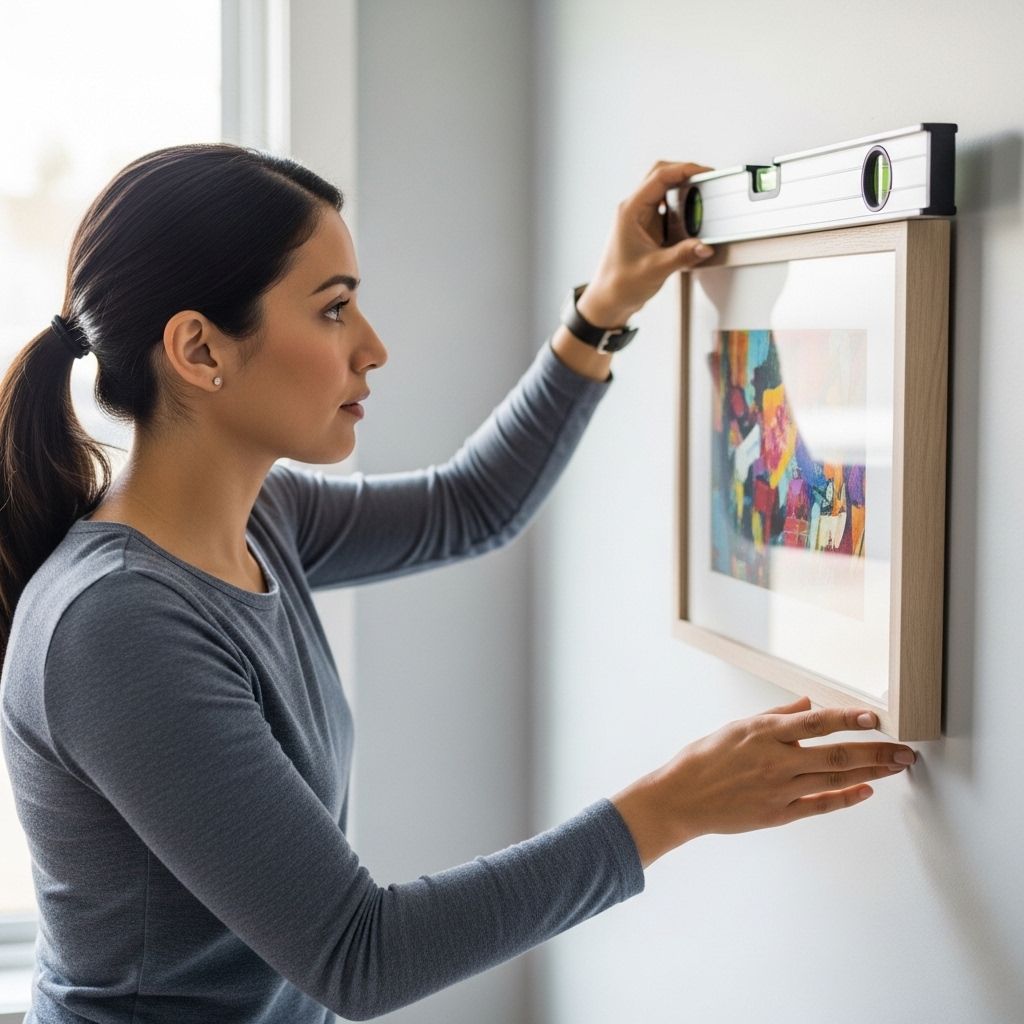
Hang the Artwork: Carefully hang each piece of art, ensuring it is level. Make any necessary adjustments.
Fine-Tune and Enjoy: Step back and admire your work. Make any final adjustments to ensure the art is perfectly positioned and visually appealing.
Considering Professional Art Installation
While this guide provides a basic overview, complex or large-scale art installations may benefit from the expertise of professional art installers. Professionals have the experience and specialized tools to handle delicate artwork, challenging wall surfaces, and intricate arrangements. They can also advise on optimal placement and lighting to enhance the visual impact of your collection.
Enhancing Your Space with Custom Window Treatments
Remember, art installation is just one element of creating a beautiful and harmonious space. Consider how your window treatments can complement your artwork and overall décor. Custom blinds, custom shutters and drapery can provide the perfect backdrop, control natural light, and enhance the ambiance of your room.
Mastering the art of installation elevates any space, but it's only a piece of the puzzle. Custom blinds, professional art installation, custom blind installation, and custom shutters and drapery all play a vital role in bringing a room together. At Custom Blinds & Great Designs, we believe in transforming views, one window at a time. Our personalized design consultations ensure each solution fits your style, budget, and functional needs. Ready to complete your vision? Explore our window treatment options or contact us today for a consultation!